

Leak Repair For Asphalt Shingle Roofs: A Step-by-Step Guide
If you have an asphalt shingle roof, it’s important to know how to repair it in the event of a leak. While asphalt shingles are durable, they are not invincible. Over time, they can become cracked or damaged, which can lead to leaks.
Fortunately, repairing an asphalt shingle roof is a relatively easy process. In this article, we will provide a step-by-step guide on how to emergency leak repair for asphalt shingle roofs. We will also provide a list of the tools and materials you will need to complete the job.
What you will need
In order to complete this repair, you will need the following tools and materials: a flashlight, a trowel, a brush, a patch and/or a clincher, waterproof sealant, silicone caulk, and a pry bar. These items are essential to ensure that the repairs are effective and will last. Additionally, you should always make sure to wear protective clothing, such as gloves and goggles, when repairing asphalt shingle roofs.
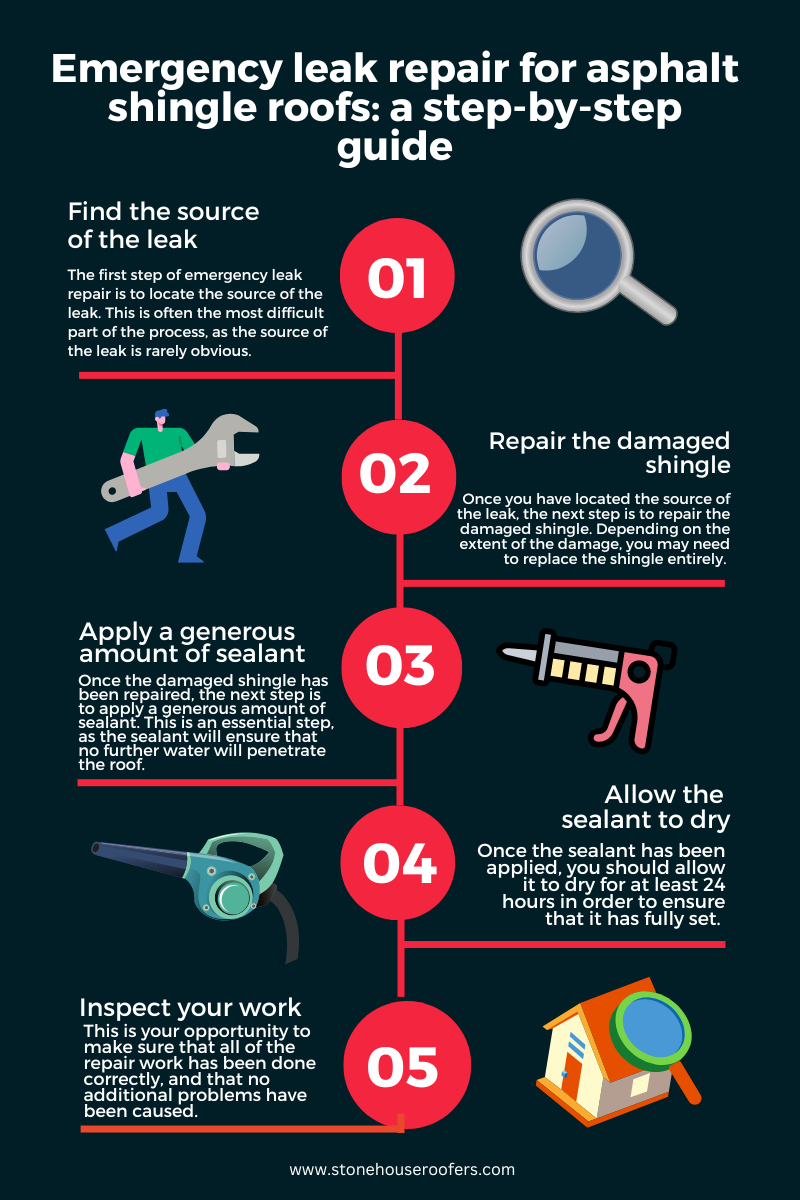
Step one: Find the source of the leak
The first step of emergency leak repair is to locate the source of the leak. This is often the most difficult part of the process, as the source of the leak is rarely obvious. Fortunately, there are several ways to locate a leaky roof. For example, you can use a flashlight to look for dark, wet spots on the roof, which are indicative of a leak. Additionally, you can have a professional come to inspect the roof, which is usually the most reliable technique. Once you have found the source of the leak, you can move on to the next step.
Step two: Repair the damaged shingle
Once you have located the source of the leak, the next step is to repair the damaged shingle. Depending on the extent of the damage, you may need to replace the shingle entirely. If the damage is minor, you can try a patch and/or a clincher. This involves placing a patch or clincher over the damaged area and pressing it firmly into place. This technique is often used to fix small cracks or tears in the shingle.
Step three: Apply a generous amount of sealant
Once the damaged shingle has been repaired, the next step is to apply a generous amount of sealant. This is an essential step, as the sealant will ensure that no further water will penetrate the roof. You can find sealant specifically formulated for asphalt shingle roofs, which is often the best option. Apply the sealant to the entire area surrounding the damaged shingle, making sure to fill any cracks or crevices.
Step four: Allow the sealant to dry
Once the sealant has been applied, you should allow it to dry for at least 24 hours in order to ensure that it has fully set. It is important to be patient and let the sealant do its job, as this will ensure that the repair is as effective as possible. Additionally, you should make sure to keep an eye on the weather forecast and plan your repair accordingly, as you won’t want the sealant to be washed away by a rainstorm.
Step five: Inspect your work
Once the sealant has fully dried, the final step is to inspect your work. This is your opportunity to make sure that all of the repair work has been done correctly, and that no additional problems have been caused. It is also important to ensure that the repair job has been done in such a way that the risk of future leaks has been minimized.
Stonehouse Roofers – Roofing experts in San Antonio
Asphalt shingle roofs are incredibly durable, but they are not invincible. Over time, they can become cracked or damaged, leading to leaks. However, emergency leak repair is a relatively simple process that you can do yourself. In this article, we have provided a step-by-step guide on how to emergency leak repair for asphalt shingle roofs. We have also provided a list of the tools and materials you will need to complete the job. With the right tools and a bit of patience, you can easily have your roof repaired in no time.
If you notice leaks on your roof and you are uncertain about what to do, do not hesitate to reach out to us!
Give us a call at 210-879-8521 if you have any questions, or book a free inspection online HERE.
8719 Business Circle Building #1, Converse, TX 78109